2026-10-23
Rail stile bits get used a lot for cabinet doors, interior doors, framed panels. Set them up right and you get matching profiles that fit together clean. But tear-out, burn marks, loose joints? Those mess up looks and durability. Usually it's cutter condition, router settings, stock prep, feed technique, or just an inaccurate setup. Figure out the cause and you can fix the defect without wasting half your lumber.
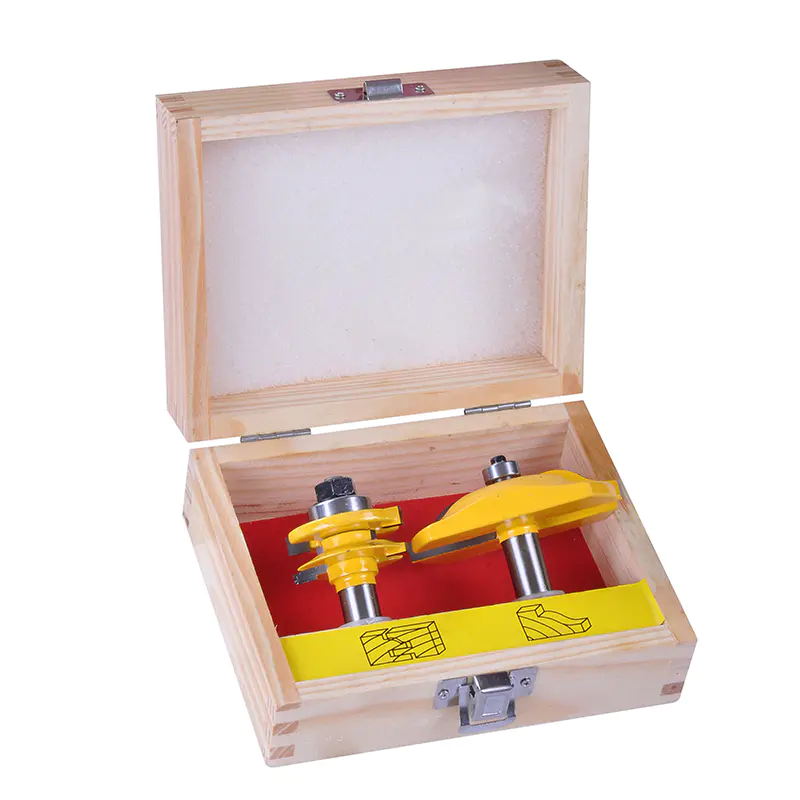
Tear-out is when the cutter yanks wood fibers out instead of slicing them clean. You'll see it at rail ends, around changing grain direction, or in brittle figured wood.
Unsupported end grain: Coping cuts go across the grain, so rail ends splinter easy. Use a coping sled and a sacrificial backer board to support the fibers as the cutter exits.
Dull or dirty cutters: Worn edges crush and tear fibers. Pitch and resin buildup do the same. Inspect the bit often, clean it with something the manufacturer approves. Dull or damaged? Get it sharpened professionally or replace it.
Too much material removed at once: Heavy cuts mean more vibration, harder to control. Where the cutter and profile allow, take controlled passes. Follow the maker's instructions. And always test on scrap with similar thickness and grain before routing finished parts.
Burn marks are dark spots from heat and friction between cutter and wood. Common in dense hardwoods, but they also point to setup or maintenance issues.
Inconsistent or very slow feed: Hold the workpiece in one spot and the cutter rubs, builds heat. Feed steady and controlled. Too fast causes chatter or overloads the router. Aim for a smooth pass without pausing in the cut.
Incorrect router speed: Big-diameter bits may need lower RPM than small cutters. Follow the speed limit for that exact bit. Never exceed it to finish faster. Check the router is suitable for the cutter and material.
Resin buildup or repeated passes: Dirty cutter, worn edge, misaligned fence, rubbing the same surface over and over—all contribute to scorching. Clean and inspect the bit, check fence alignment, avoid unnecessary passes. If burning continues, stop and reassess. Don't just push harder.
A loose joint usually means a mismatch between mating profiles, inconsistent stock, or poor assembly. A profile can look fine on its own and still not fit its matching piece.
Incorrect bit height: Wrong cutter height and the rail's coping profile won't align with the stile's. Adjust in small increments, cut test pieces until shoulders meet and the joint seats fully.
Uneven stock thickness: Rails and stiles should be milled to consistent thickness. Warped, cupped, or mismatched pieces shift against the fence and produce profiles that don't line up. Use the same reference face against the fence whenever you can.
Mismatched cutters or settings: Some sets use separate cutters for rail profile and coping cut. Confirm components belong to the same compatible set. Follow the manufacturer's setup procedure. Record successful settings when making multiple doors.
Poor glue-up: Adhesive can't fix an inaccurate joint. Dry-fit first, check surfaces are clean, apply recommended glue per instructions. Clamp evenly without forcing misaligned parts together.
| Problem | Likely cause | Practical fix |
|---|---|---|
| Tear-out at rail ends | Unsupported end grain or dull cutter | Use a coping sled and backer board; inspect the bit |
| Burn marks | Slow feed, excessive RPM, or resin buildup | Use a steady feed, observe the rated speed, and clean the cutter |
| Gaps at the joint | Incorrect bit height or incompatible cutters | Recheck the setup and test the mating profiles |
| Uneven profiles | Inconsistent stock or fence alignment | Mill parts evenly and keep a consistent reference face |
| Joint opens after assembly | Poor fit or incorrect glue-up | Correct the machining, dry-fit, and follow adhesive directions |
Start by checking the bit is clean, undamaged, securely installed, and rated for the router's operating conditions. Prepare rails and stiles to a consistent thickness. Align the fence, set cutter height per the manufacturer's guidance. Make test cuts using offcuts from the actual stock. Assemble a dry-fit sample to check shoulder alignment and gaps.
During routing, keep the workpiece supported against the fence. Use appropriate work-holding equipment, especially for coping cuts. Disconnect power before changing bits or adjusting setup. Use the router table's guards and suitable eye and hearing protection. Never make unsupported freehand cuts with large profile cutters.
Before applying glue, inspect every joint for rocking, chipped edges, or visible gaps. If the fit is wrong, check stock thickness, cutter height, and profile compatibility before changing several settings at once. Correct one variable, cut another test piece, record the final setup. That repeatable process helps Rail Stile Bits produce cleaner profiles, stronger-fitting joints, and more consistent results across a project.
KEEP IN ToUCH

Rongcheng specializes in manufacturing and exporting wood planer bits, auger bits, shovel bits, spade bits, chisels, hammer bits and carbide, etc.
contact us
Address: Shangbutou, Qingjiang, Yueqing, Zhejiang, China
Tel: +86-577-62271200
FAX: +86-577-62276882
E-mail: [email protected]
Follow us

Carbide Hammer Drill Tools Manufacturer

 English
 русский
 Español
 中文简体