2026-10-16
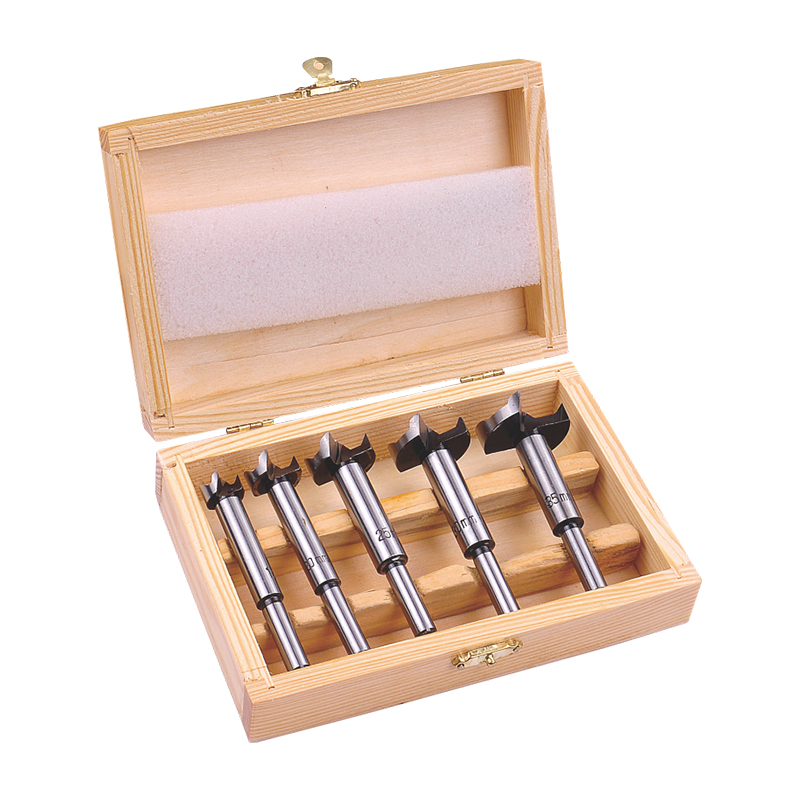
Splintered hole edges can make cabinet panels, shelves, and furniture parts look unfinished. The cause is not always poor-quality sheet material: some Set of Wood Drill Bits include general-purpose bits that are poorly suited to plywood or medium-density fiberboard (MDF). Bit sharpness, drilling technique, and workpiece support also affect the result.
Plywood is made from thin wood veneers layered with alternating grain directions and bonded with adhesive. As a bit exits the panel, its cutting edges can push through the final veneer before cutting it cleanly. The veneer may lift or split, leaving chips around the exit hole. Poorly supported panels are especially vulnerable.
MDF behaves differently. Its fine wood fibers and resin form a dense, uniform panel. Drilling can pull out fibers, crush the surface, or leave a fuzzy rim. MDF dust is very fine, so use effective dust extraction and suitable respiratory protection.
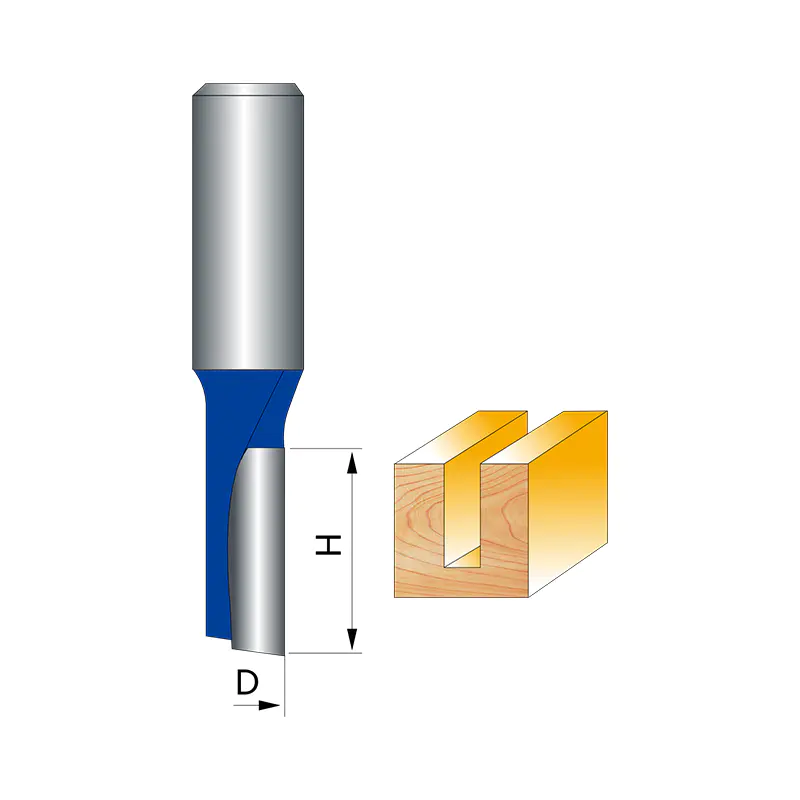
Bits in a wood drill bit set may look similar, but their cutting geometry matters.
A premium set is not automatically best for every job. Check the bit type, intended materials, diameter range, and recommended speed. Dull or chipped edges can damage the panel even when the bit design is suitable.
|
Cause |
What you may notice |
Practical fix |
|---|---|---|
|
Dull or damaged cutting edges |
Torn veneer, rough or fuzzy rims |
Replace or professionally sharpen the bit; do not force a blunt bit through the panel |
|
Bit geometry unsuited to sheet goods |
Chipping around the entry or exit |
Try a sharp brad-point bit for ordinary through-holes, or a suitable Forstner bit for flat-bottomed holes |
|
No support under the panel |
Breakout on the underside |
Clamp a sacrificial backing board firmly against the exit face |
|
Excessive feed pressure |
Sudden breakout, heat, or a stalled drill |
Use steady, moderate pressure and let the cutting edges do the work |
|
Bit wobble or poor alignment |
Oversized, angled, or ragged holes |
Secure the workpiece, hold the drill square, and use a drill guide or drill press where practical |
|
Incorrect speed for the bit and material |
Burning, chatter, or rough edges |
Follow the bit maker’s speed guidance and adjust for bit diameter and material |
1. Clamp the panel securely. Do not hold a small workpiece by hand while drilling. Movement can make a hole rough or unsafe. Place a scrap board beneath the panel and clamp both pieces together to support the exit face.
2. Choose a bit for the hole you need. For small and medium through-holes in plywood, start with a sharp brad-point bit. For larger holes or flat-bottomed recesses, consider a Forstner bit. A twist bit can also work when sharp and properly aligned.
3. Mark the center accurately. A brad point helps prevent wandering; for other styles, use a center mark or drill guide. Keep the drill perpendicular unless the design requires an angle.
4. Control the feed rate. Start steadily and avoid leaning hard on the drill. Too much pressure can force the cutting edges through the bottom veneer or crush MDF fibers. If the bit heats up, chatters, or stops clearing chips effectively, pause and inspect the setup instead of pushing harder.
5. For critical visible holes, drill from both sides. Mark the center on both faces, drill from the first side until the point just emerges, then finish from the opposite side. This approach can greatly reduce exit breakout, but the two holes must align. For repeated production work, a drill press, guide, or properly set backing board may be more consistent.
6. Maintain the setup. Check cutting edges for damage, wear eye protection, and use dust extraction when drilling MDF. Follow the tool and panel makers’ safety recommendations.
When comparing sets, look beyond the number of pieces and the price. Check whether the set includes brad-point bits for accurate holes in wood-based panels, whether the cutting edges are clean and consistent, and whether the manufacturer lists suitable materials and speed guidance. Match the bit diameter to the fastener or fitting, and avoid using a bit with visible damage.
For cabinetmaking, a small set of suitable, sharp bits may outperform a large general-purpose assortment. If splintering persists, test on an offcut from the same panel to identify whether the cause is the bit, material, setup, or technique.
Before drilling the finished panel, confirm that the bit is sharp and suitable, the workpiece is clamped, the exit face has backing support, the drill is aligned, and the speed follows the manufacturer’s guidance. Test on scrap whenever the hole will be highly visible. These checks usually make a noticeable difference to edge quality and reduce avoidable repairs.
KEEP IN ToUCH

Rongcheng specializes in manufacturing and exporting wood planer bits, auger bits, shovel bits, spade bits, chisels, hammer bits and carbide, etc.
contact us
Address: Shangbutou, Qingjiang, Yueqing, Zhejiang, China
Tel: +86-577-62271200
FAX: +86-577-62276882
E-mail: [email protected]
Follow us

Carbide Hammer Drill Tools Manufacturer

 English
 русский
 Español
 中文简体
中文简体