2025-11-25
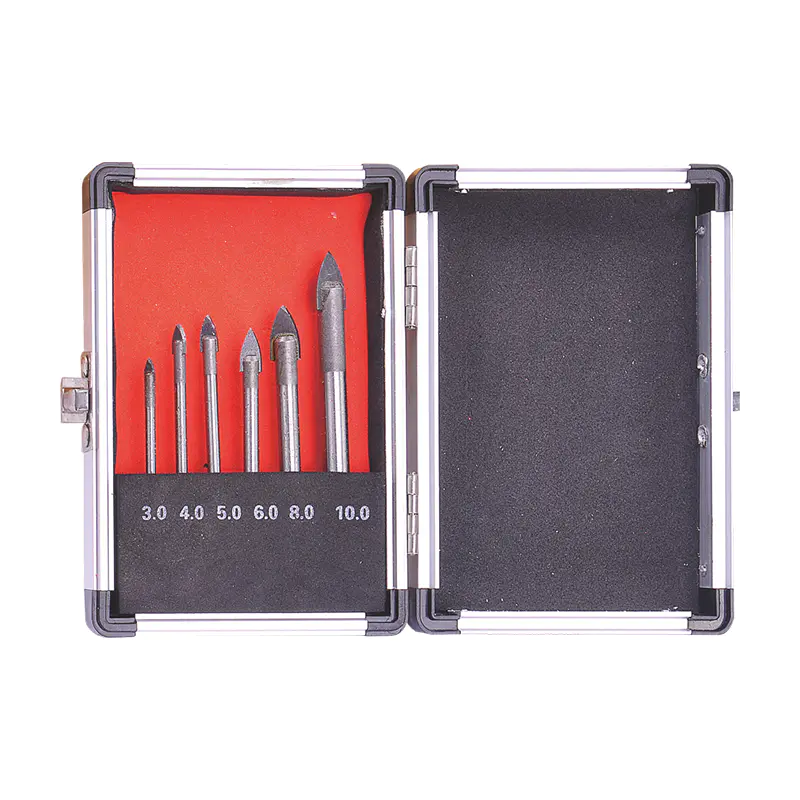
When working with fragile materials such as windows, mirrors, or glass decor, controlling the drilling speed is one of the most critical factors for success. A Glass Drill Bit is specially engineered for brittle surfaces, allowing the user to gradually grind through the material rather than applying the aggressive cutting action seen in wood or metal drilling. However, even specialty tools can cause cracks, micro-fractures, or surface chipping if the rotational speed is too high. Understanding how to control drill speed, how pressure interacts with rotation, and how to use cooling during the drilling process ensures clean, safe, and precise results on glass surfaces.

Glass has low tensile strength and reacts poorly to heat buildup. Excessive RPM creates friction, which rapidly increases temperature and stresses the material. When combined with sudden impact or excessive pressure, this can result in catastrophic failure, turning a simple project into costly damage. Therefore, mastering drill speed is not merely a matter of efficiency—it is essential to protecting the integrity of the glass.
To avoid cracking or overheating, glass drilling should always begin at a very low speed. For most handheld drills, the ideal starting range is 300 to 600 RPM. The drill should never be set to its speed. Instead, slow and steady rotation allows the tip to gradually wear away the glass surface in a controlled manner. Maintaining this low speed throughout the drilling process is a typically safe approach, although slight speed adjustments may be made depending on the thickness and hardness of the material.
Using a variable-speed drill provides greater precision since the operator can slowly increase RPM as needed while observing how the material responds. The goal is to create a shallow guide indentation before applying consistent forward movement. As drilling progresses, lifting the bit periodically helps release glass dust and cool the surface. Continuous pressure without pauses increases heat and friction, causing stress fractures, so a rhythmic, patient drilling technique is recommended.
Controlling speed alone is not enough. Pressure and cooling work in coordination with low RPM to protect the glass surface. Even at slow speeds, excessive downward force can cause sudden cracking. Light, steady pressure allows the cutting surface of the bit to perform its function without forcing the glass to absorb too much stress. The drill should be guided, not forced.
Cooling plays an equally important role. Water is the common coolant and lubricant for glass drilling. Applying water to the drill zone continuously or in intervals keeps the temperature down and flushes debris away. A water spray bottle, slow trickle, or damp sponge around the drilling area is are effective solution. If drilling without water, even at low speeds, heat can build quickly and dramatically increase the risk of breakage.
For clean, crack-free holes, precision and patience are key. Mark the drilling point clearly and use masking tape on the glass surface to help stabilize the bit and prevent slippage. Start at a low RPM, apply pressure, and monitor heat buildup throughout the process. If resistance increases suddenly, pause to cool the drill site and allow the material to relax before continuing. As the drill breaks through the opposite side, reduce pressure further to prevent edge chipping.
Speed control is essential when drilling glass. Proper technique—low RPM, light pressure, continuous cooling, and careful pacing—ensures that even delicate surfaces can be drilled successfully without damage. With attention to these details, users can achieve smooth, precise holes while extending the life of their specialized tools and maintaining the integrity of the glass material.