2025-05-09
Understanding the Fragility of Glass and the Need for Precision
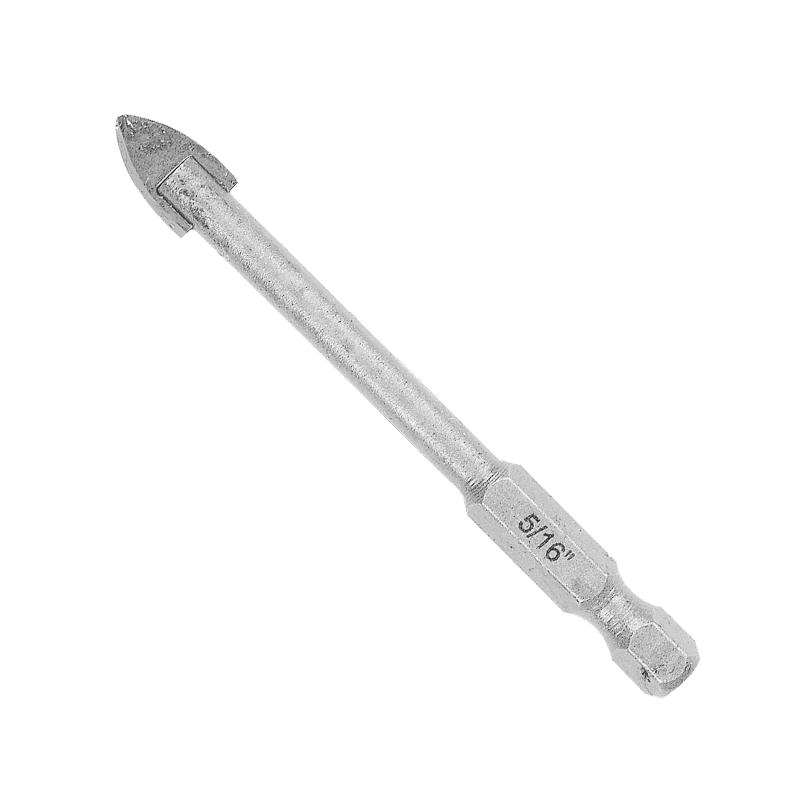
Glass is a non-porous, brittle material that requires a high degree of care when drilling to avoid chipping or cracking. Unlike wood or metal, it does not flex under pressure and cannot tolerate high levels of friction. This makes speed and pressure the two critical variables to control during the drilling process. Using a Glass Drill Bit correctly means working slowly, applying consistent pressure, and understanding how these two factors interact to preserve the integrity of the material.
Why Low Speed is Essential in Glass Drilling
Drilling through glass should always be performed at a slow speed, typically between 400 to 600 RPM for smaller drill bits. High speeds generate excess heat due to friction, which can quickly cause thermal stress and cracks. Additionally, faster rotations reduce the operator’s control and increase the likelihood of the bit skidding on the surface. To begin drilling, it is advisable to start at the low speed setting and gradually increase only if necessary. Patience is key—rushing through the process often results in irreversible damage to the material.
The Role of Gentle and Consistent Pressure
While speed affects the drill bit’s rotation, pressure determines how forcefully the bit is applied to the glass surface. Applying too much pressure can shatter the glass instantly, especially when drilling near edges or thinner areas. The correct approach is to use light, steady pressure—enough to keep the Glass Drill Bit in contact with the surface but not so much that it forces the bit to bite aggressively. The aim is to let the drill bit grind through the glass slowly rather than punch through it.
Starting the Hole: Technique for Stability
One of the critical phases of drilling into glass is starting the hole. The bit may slip or wander if not guided properly. To avoid this, it is recommended to use a piece of masking tape over the drilling area or to begin drilling at a slight angle before gradually leveling the bit. This helps anchor the drill point and gives you more control as the hole forms. Once the bit begins to cut into the surface, the pressure should remain low and constant.
Importance of Cooling During the Process
Controlling heat is vital when using a Glass Drill Bit, and the way to do this is through proper cooling. Water is typically used as a coolant to reduce heat buildup and lubricate the drilling area. Whether you’re using a drip system, water-filled container, or manual spraying, consistent cooling prevents the glass from overheating and cracking. It also helps flush away glass particles, improving the bit’s efficiency and preserving its sharpness.
Monitoring Progress and Adjusting as Needed
As the hole develops, it’s important to stay attentive to the sound and feel of the drilling. A high-pitched squeal or increased resistance may indicate too much pressure or insufficient cooling. If this happens, stop the drill, let the area cool, and resume with lighter pressure. Avoid applying additional force just to speed up the process. A properly used Glass Drill Bit should create a clean, smooth hole without creating spider cracks or blowouts on the exit side.
Precision, Patience, and Control Are the Keys to Success
Drilling through glass requires a delicate balance of slow speed, gentle pressure, and constant cooling. Rushing the process or neglecting these principles can easily result in cracked surfaces or broken materials. By understanding how to properly use a Glass Drill Bit—especially when managing speed and force—you can achieve professional-quality results safely and efficiently. Whether you're a DIY enthusiast or a professional glazier, success comes from mastering the details and respecting the material’s limitations.
KEEP IN ToUCH
Rongcheng specializes in manufacturing and exporting wood planer bits, auger bits, shovel bits, spade bits, chisels, hammer bits and carbide, etc.
contact us
Address: Shangbutou, Qingjiang, Yueqing, Zhejiang, China
Tel: +86-577-62271200
FAX: +86-577-62276882
E-mail: [email protected]
Follow us
Carbide Hammer Drill Tools Manufacturer
 English
 русский
 Español
 中文简体
中文简体